Installation
This is a preliminary installation instruction. This may not work on all systems. If any problems come up, do not hesitate to contact us rkiewisz@nysbc.org, or contact us on our Slack Channel.
We are working on a more intuitive installation of our software. In the meantime please use the following options.
Option 1:
Install TARDIS using the newest released package from Github
pip install package_name-py3-none-any.whl
or
Install pytorch with GPU support as per Pytorch official website: https://pytorch.org/get-started/locally/
pip install tardis-em
And jump to Validate.
Option 2:
Build a package from the source
Step 1: Clone repository
git clone https://github.com/SMLC-NYSBC/TARDIS.git
Step 2: Create a conda environment
Before starting, it is beneficial to create a virtual Python environment. In these cases, we use Miniconda.
If you don’t know if you have installed Miniconda on your machine, please run:
conda -h
If you don’t have Miniconda, you could install it following official instruction.
Now you can create a new conda environment:
conda create -n <env_name> python=3.11
And to use it, you need to active it:
conda activate <env_name>
Step 3: Install TARDIS
The following command will install TARDIS and all its dependencies
pip install tardis-em
or
conda install tardis-em
(Optional) Install from GitHub master branch:
cd TARDIS
pip install .
Validate installation
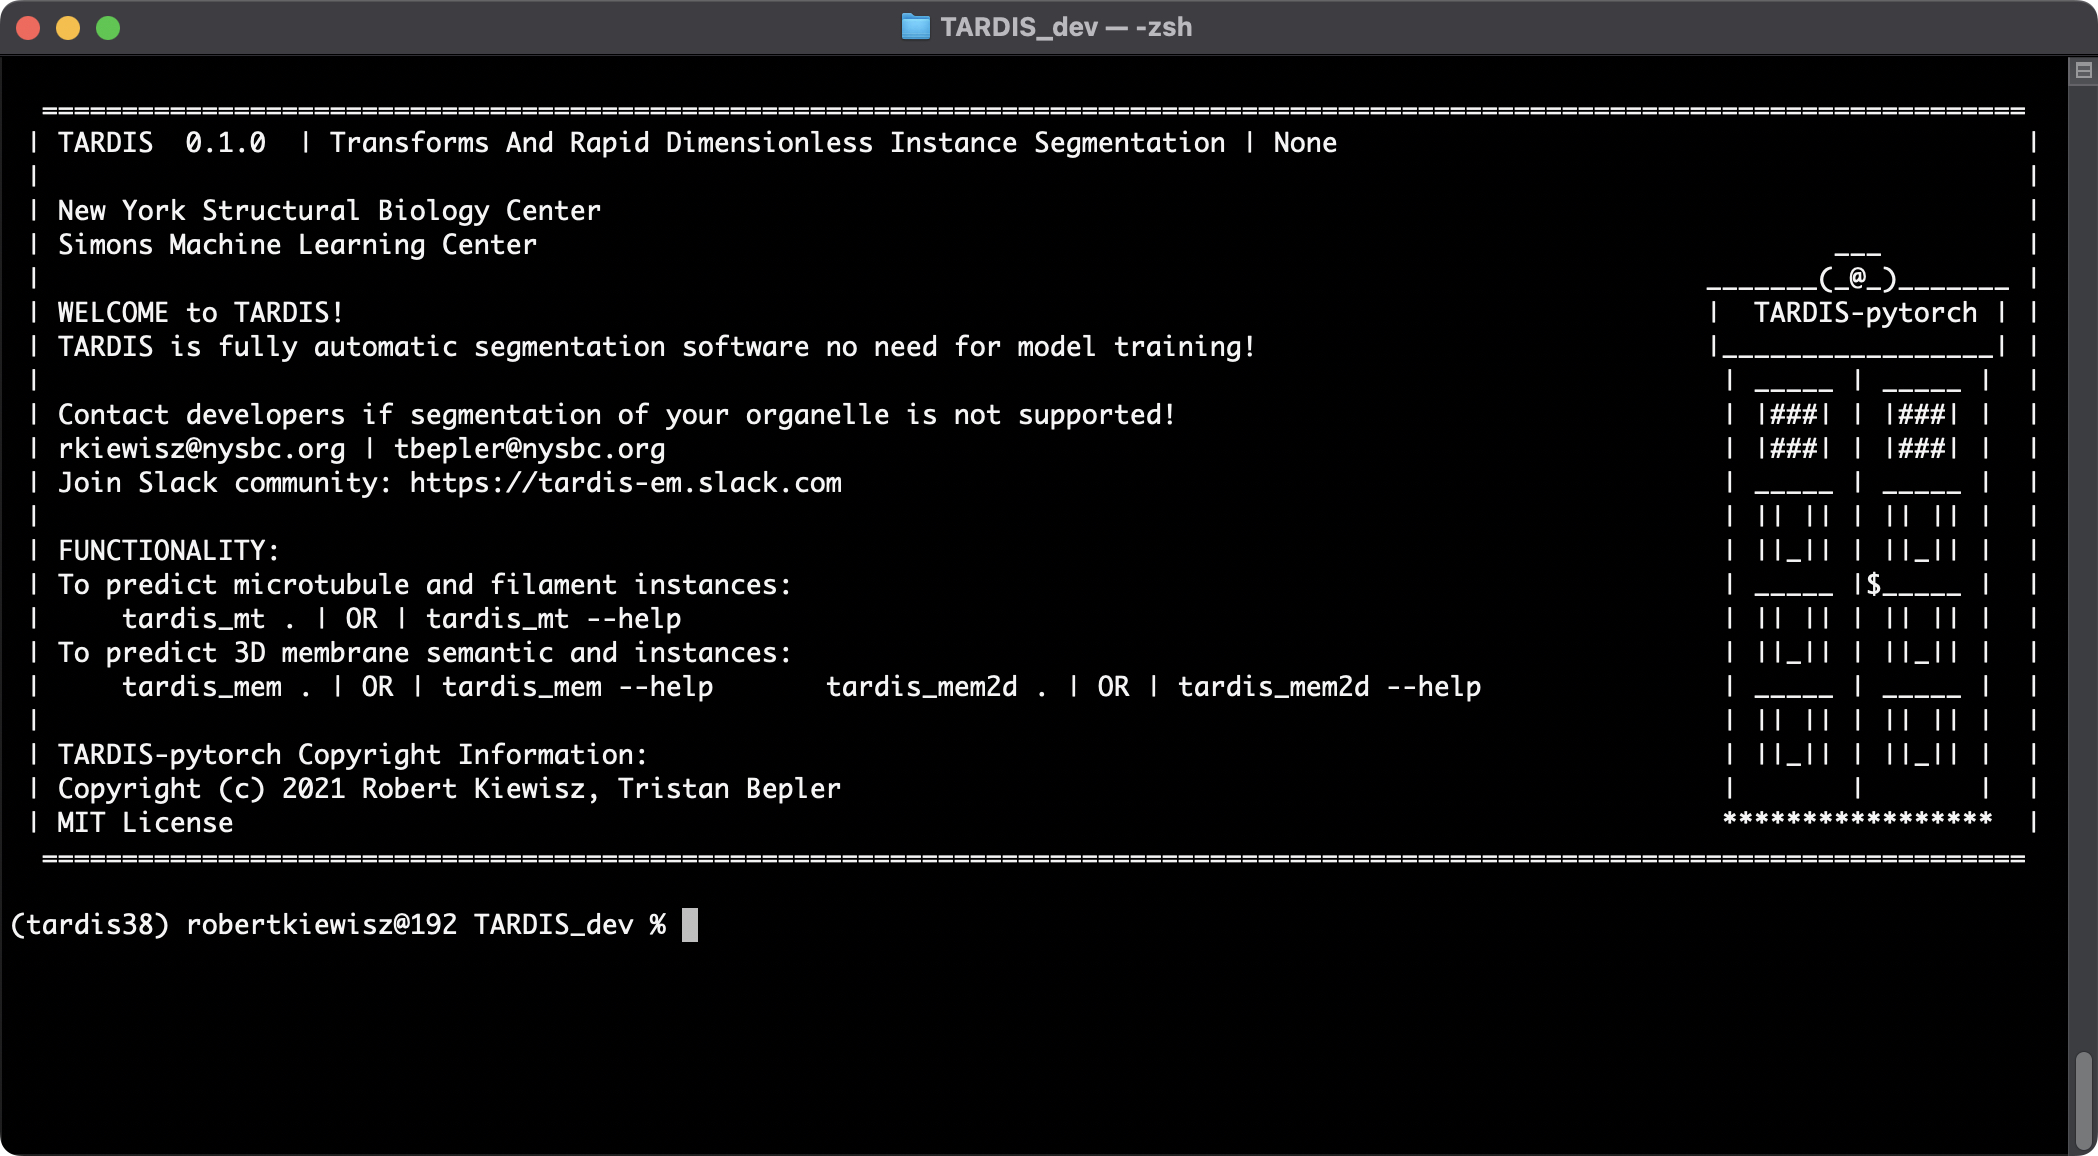
To check if the installation was successful and check for any new OTA updates, you can run:
tardis
This should display the TARDIS home screen, similar to the screenshot below:
[Optional] installation of Napari plugin
pip install napari-tardis-em
Run automatic segmentation
Advance Tutorial - Predict Microtubules in 3D [Tutorial].
tardis_mt -dir path/to/folder/with/your/tomograms
Advance Tutorial - Predict Microtubules in 2D [Coming soon] [Tutorial]
TBD
Advance Tutorial - Predict Membrane in 3D [Tutorial]
tardis_mem -dir path/to/folder/with/your/tomograms
Advance Tutorial - Predict Membrane in 2D [Tutorial]
tardis_mem2d -dir path/to/folder/with/your/tomograms